Bootable USB programs
Overview
Introduction
There is a few programs to make bootable USB or SD card. Some works better for certain opperating systems, and some are optimized for different things, like the raspberry pi imager that gives you extra features for editing the setup of the operating system. There exist more programs than what I have listed here, but these should mostly have you covered.
General
To use any of these programs you will need to have a user that is administrator on the pc.
Hardware used
- USB
- SD card
- SD card adapter
- PC
Sofrware used
- Ventoy
- BalenaEtcher
- Raspberry Pi Imager
- Rufus
- Windows media creation tool
Watch out for
Installing Linux
To install Linux, you will have to be able to enter the BIOS and disable secure boot. If that has not been done you will get an error message and not be able to continue.
Linux bootable media
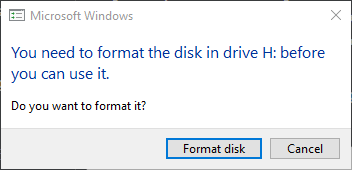
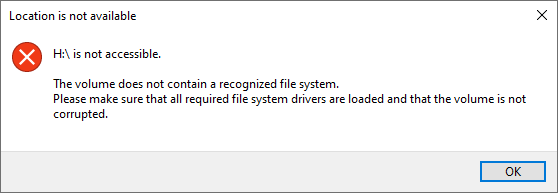
Setting up a Linux bootable media from Windows can generate errors since Windows can't read all the volumes. Trying to be helpfull, Windows suggests formatting the volumes. Ignore this and press Cancel
| Format disk | Location not available |
|---|---|
|
|
Windows User Account Control
When writing to the USB or SD card Windows will give the below pop-up. If your user is not a local administrator, you will have to type in the username and password of an administrator account. 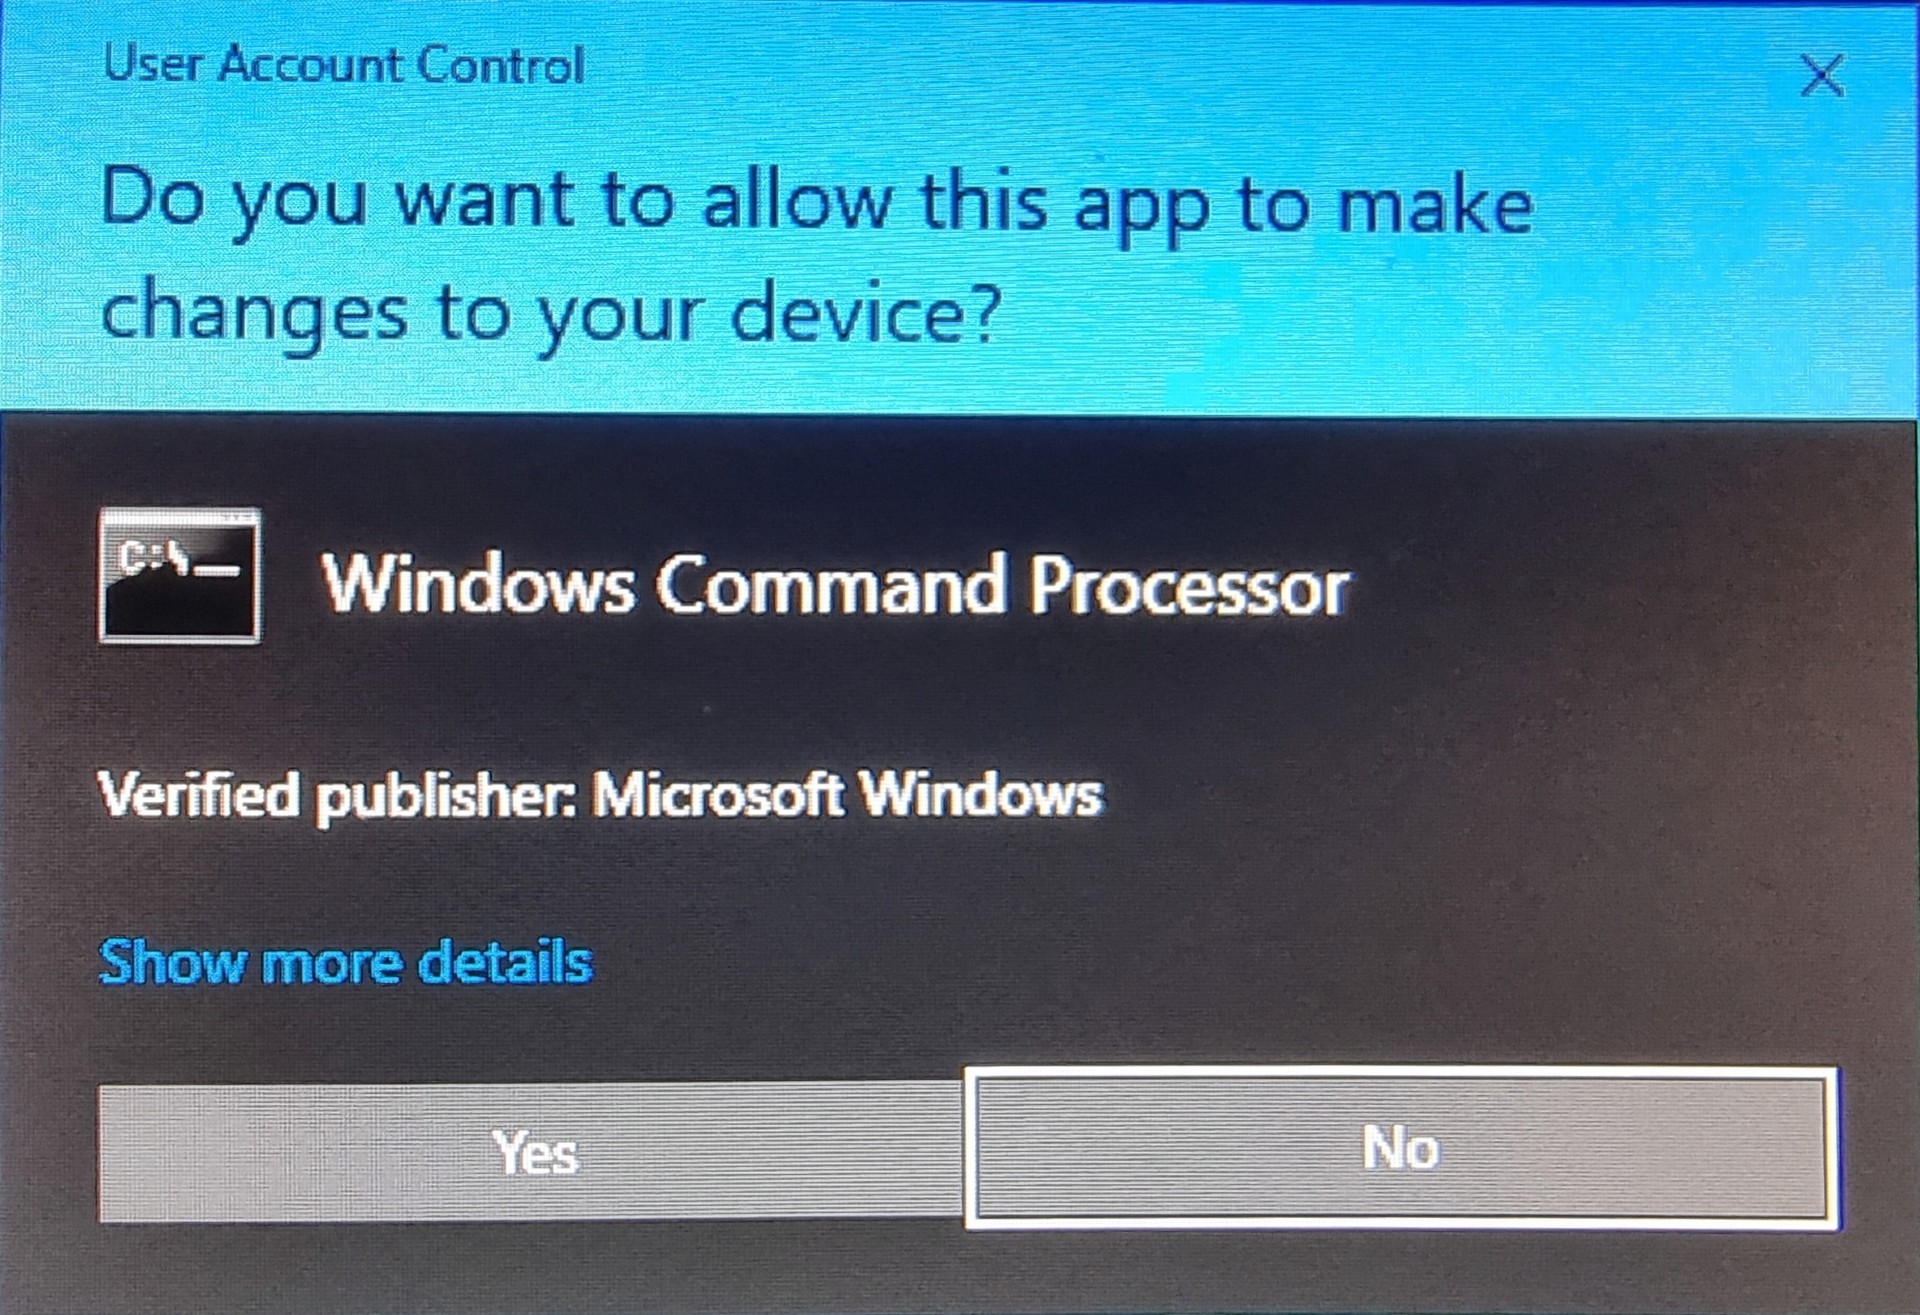
Programs
Ventoy
I will argue that there is still a use for other media creation tools, but Ventoy have put a dent in their usefulness. Ventoy is installed on a USB and then you can copy ISO files onto it, be it Windows or Linux. depending on the size of your USB you can have a great amount of ISO files ready to install. All you must do is copy the ISO files to a folder that is partitioned out from the USB.
Link to download page: https://github.com/ventoy/Ventoy/releases
-
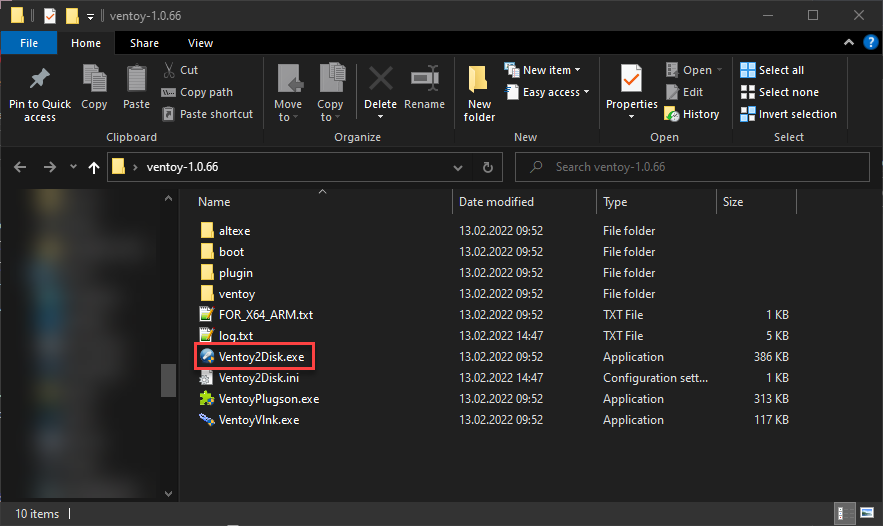
After downloading and extracting the folder, open the folder and run Ventoy2Disk.exe
-
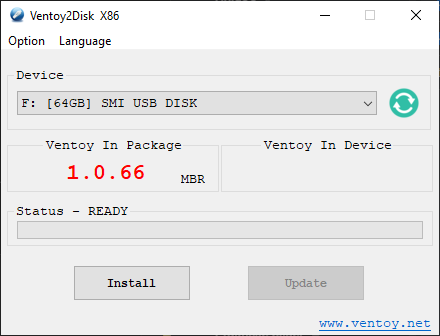
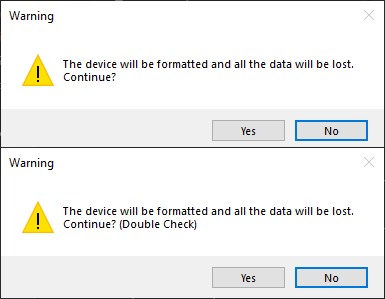
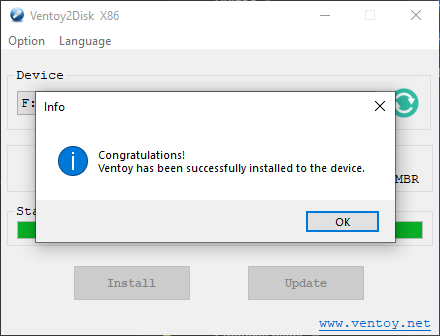
Select the desired USB Device and click Install. You will get 2 warning messages telling you that the device will be formated, click Yes on both. Installation only takes a few seconds.
| Install | Warnings | Done |
|---|---|---|
|
|
|
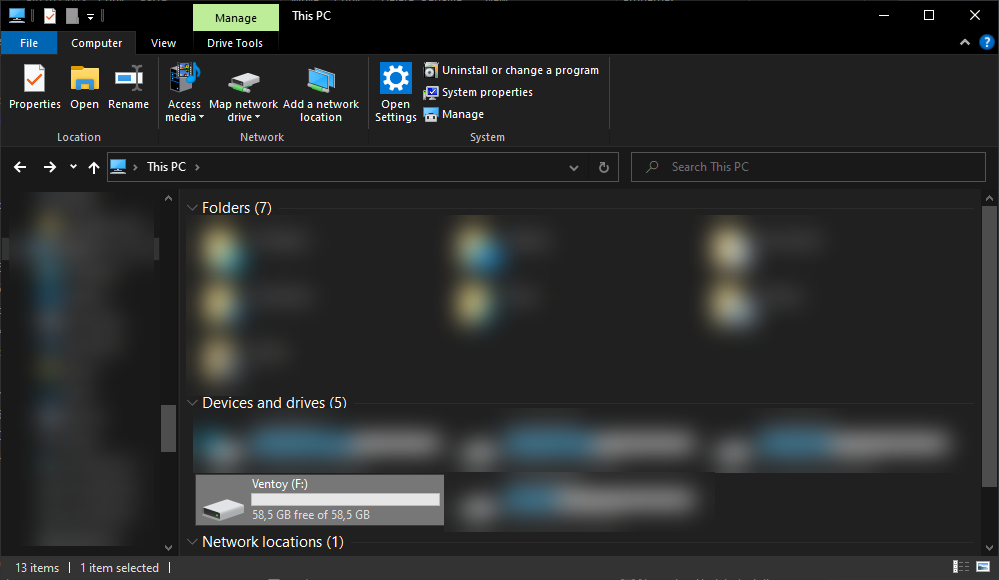
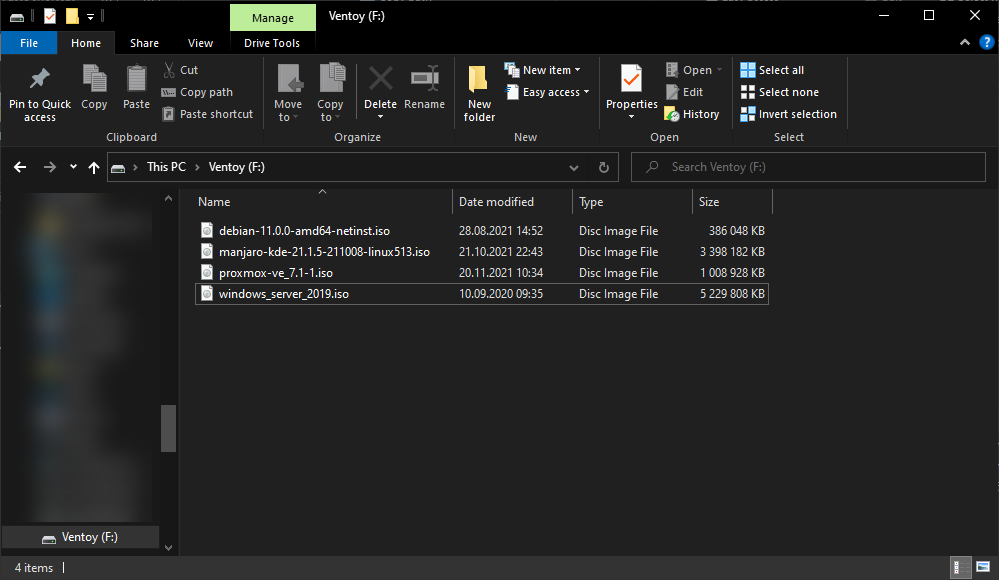
- After installation you will have a drive named Ventoy which you can start filling up with ISO files.
| Drive | With some ISO's |
|---|---|
|
|
- You are now ready to install whatever OS you have transferred to the USB.
BalenaEtcher
BalenaEtcher is a great program to make bootable USB's or SD cards. Even though I have Ventoy I still use this quite frequently. It is still useful Raspberry PI's and other SBC's (Single Board Computers). Not all types of USB works with Ventoy, if you have one of those BalenaEtcher will still probably work
Link to download page: https://www.balena.io/etcher/
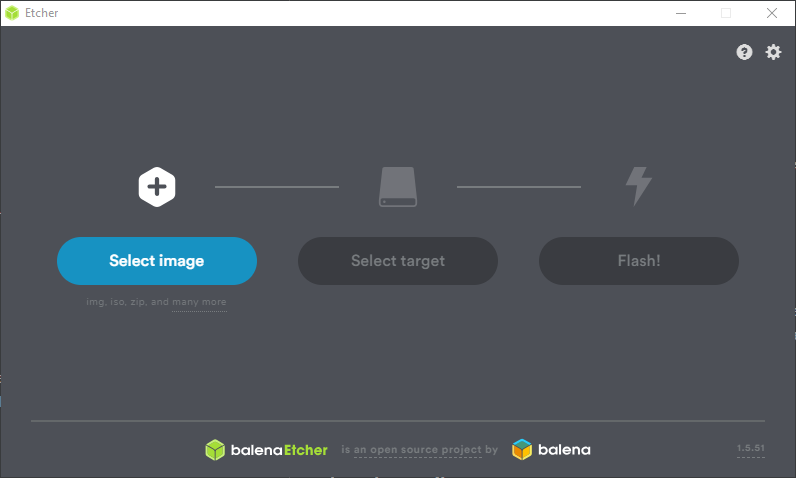
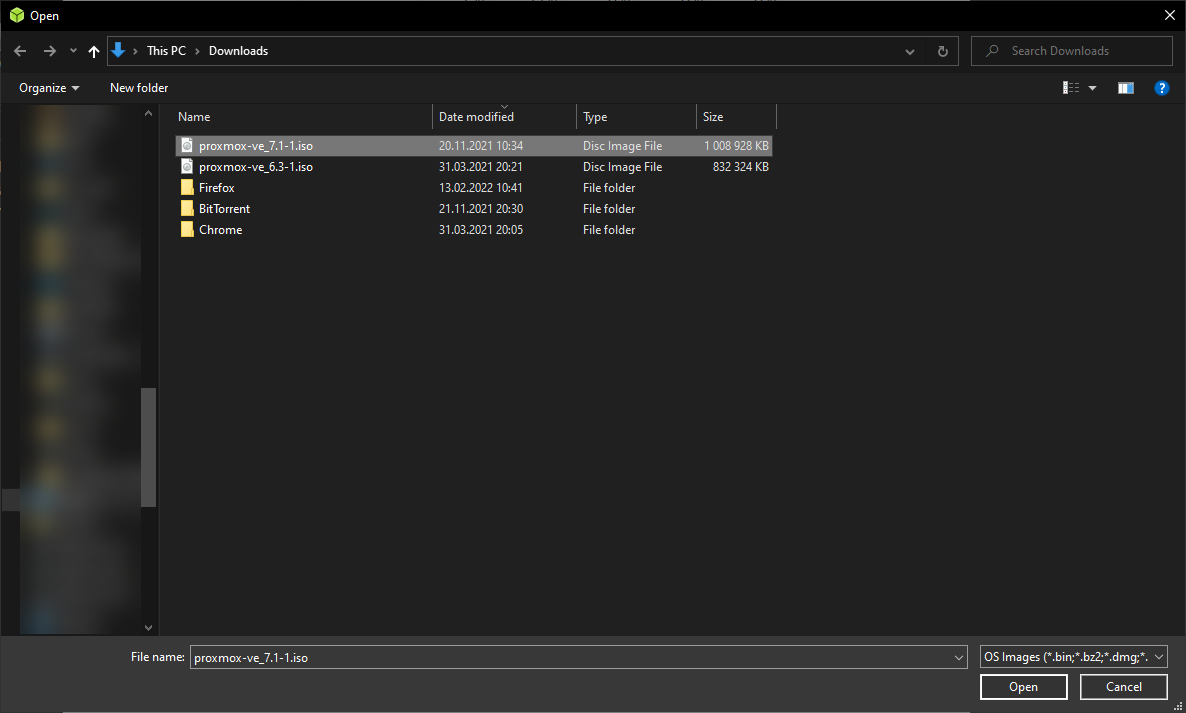
- Click Select image and navigate to where you have saved your ISO file. Click the file followed by open.
| Select image | Navigate to ISO |
|---|---|
|
|
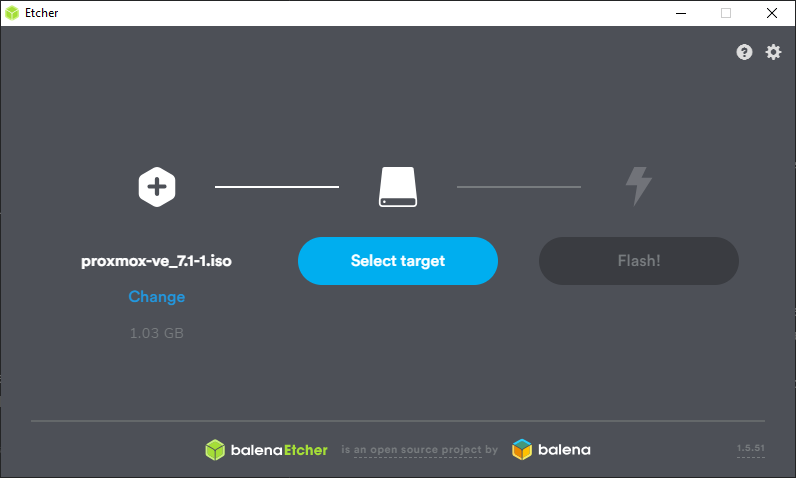
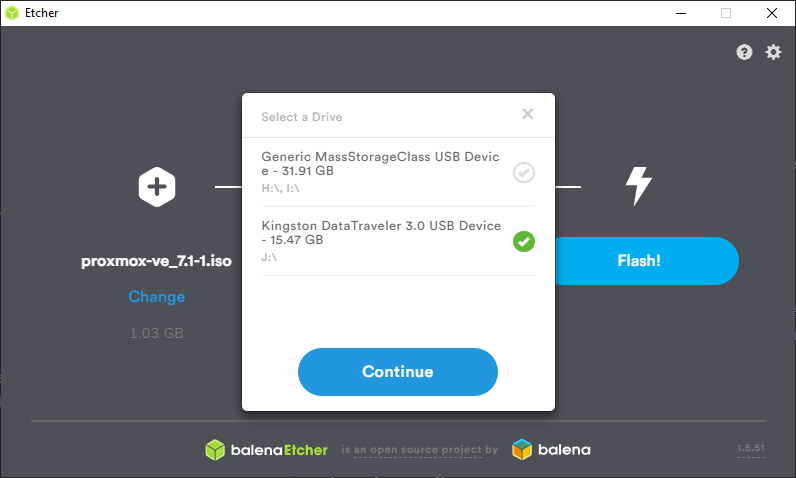
- To pick USB to install to click Select target. In the pop-up window, select the USB or multiple USB's you want to turn into a bootable media.
| Select target | Choose USB |
|---|---|
|
|
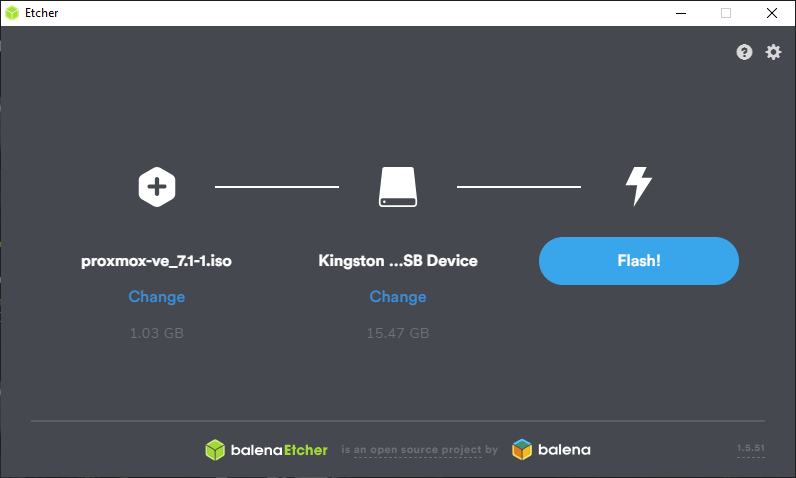
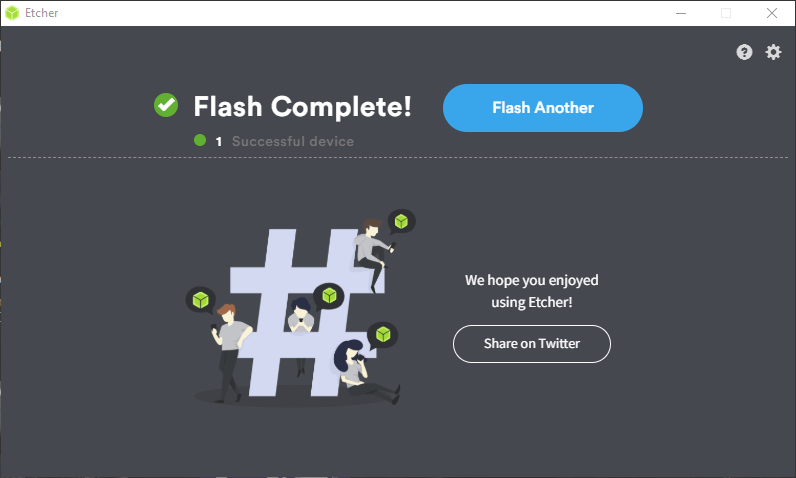
- When you have choosen the ISO and USB, click Flash! to get started. Now sit back and wait for the message Flash Complete! You can now use the USB for installation.
| Flash! | Wait | Flash Complete! |
|---|---|---|
|

|
|
Raspberry Pi Imager
The Raspberry Pi Imager is a great tool to get your raspberry's ready to use. What this gives you that BalenaEtcher does not is a way to setup a Raspberry, so you never have to add a display to do initial configuration.
There is also loads of operating systems to select from directly from the software. From general purpose operating systems like Ubuntu and Manjaro to more specified operating systems for media players and game emulation, with more. If none of the offered operating systems call to you, you can also use other .img files.
Another thing I like about it is that they have added the option to erase and format USB's and SD cards to clean FAT32. It is a quick and efficient way to clean partitions of USB and SD cards.
Link to download page: https://www.raspberrypi.com/software/
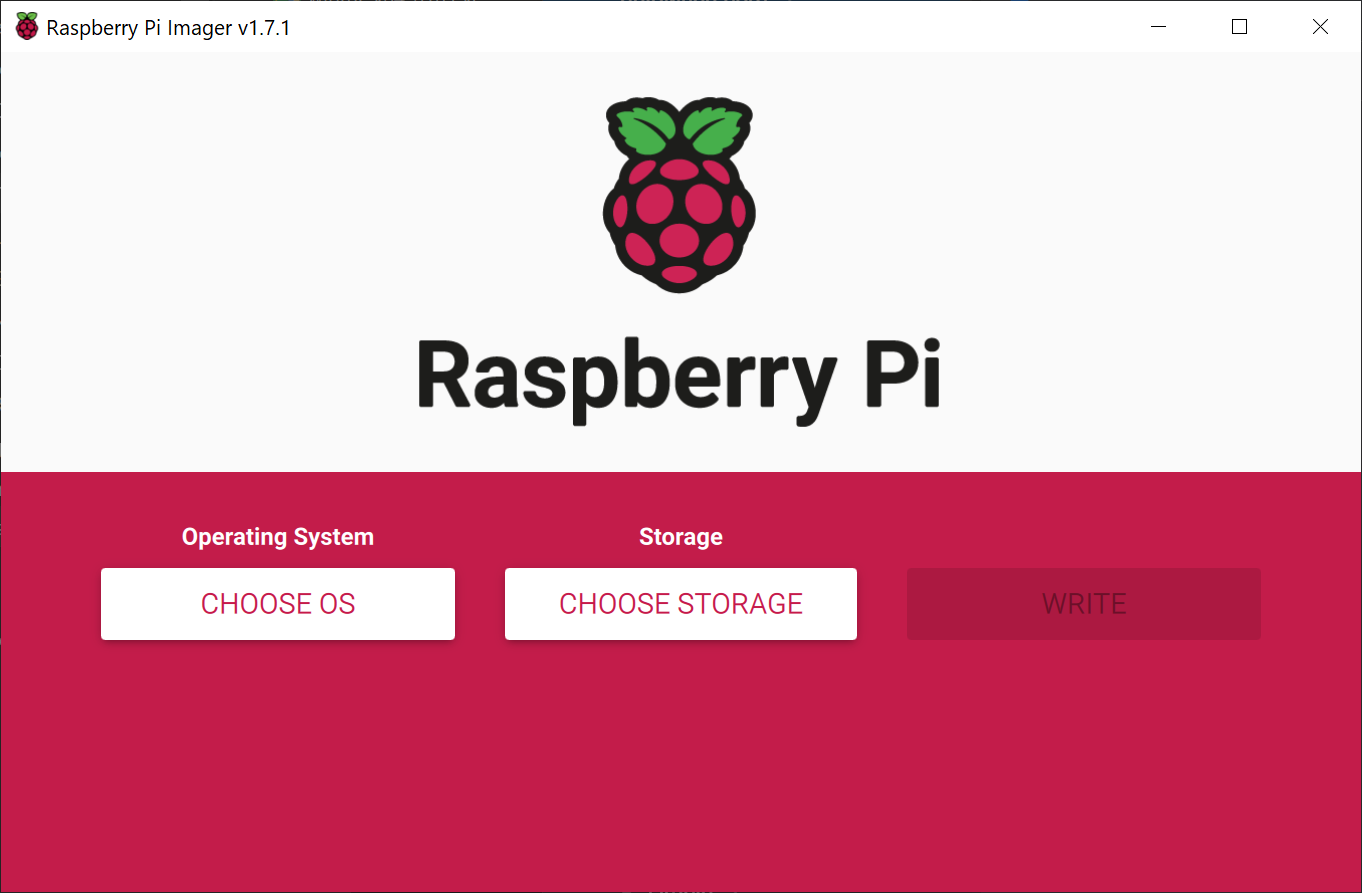
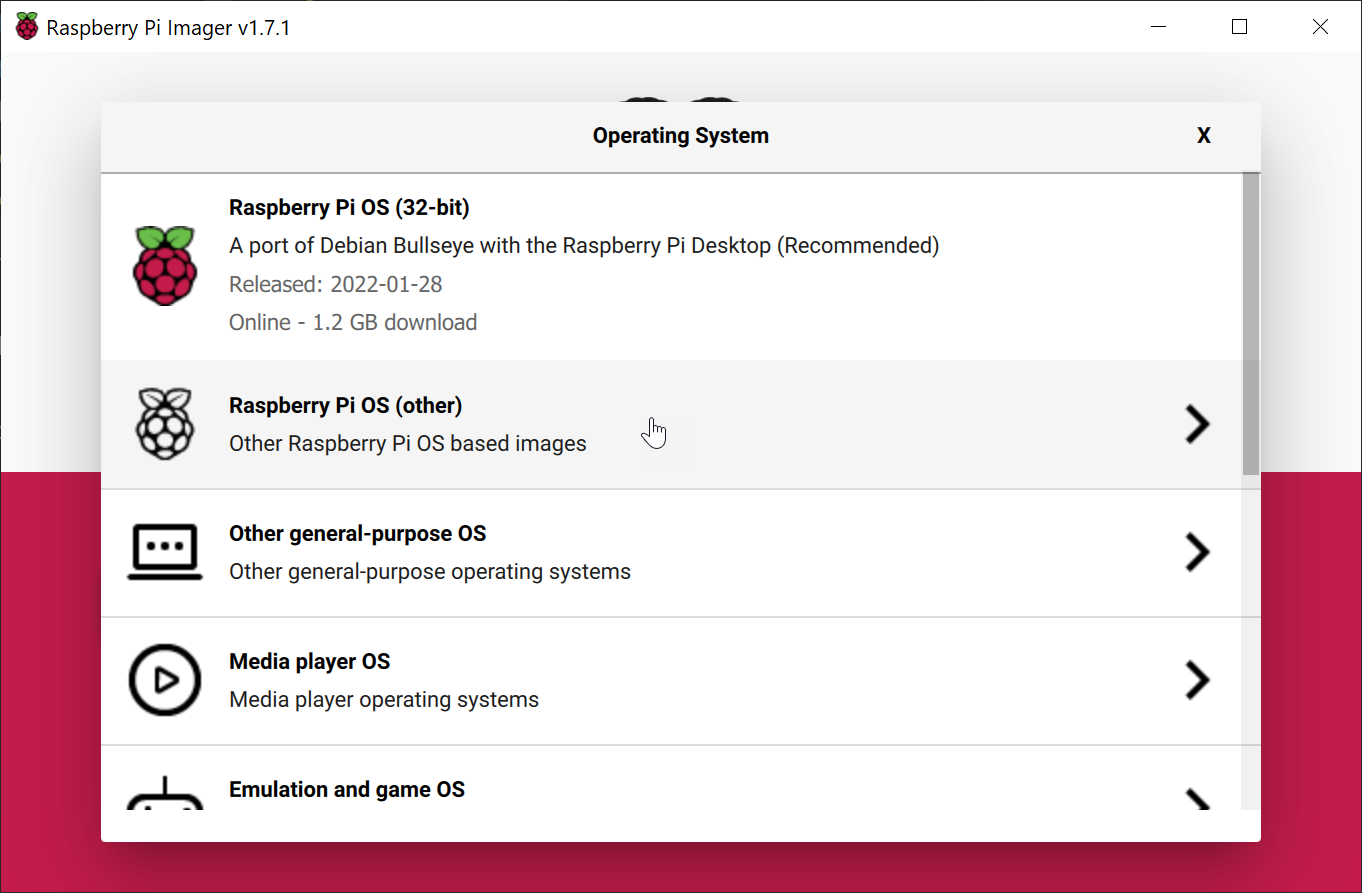
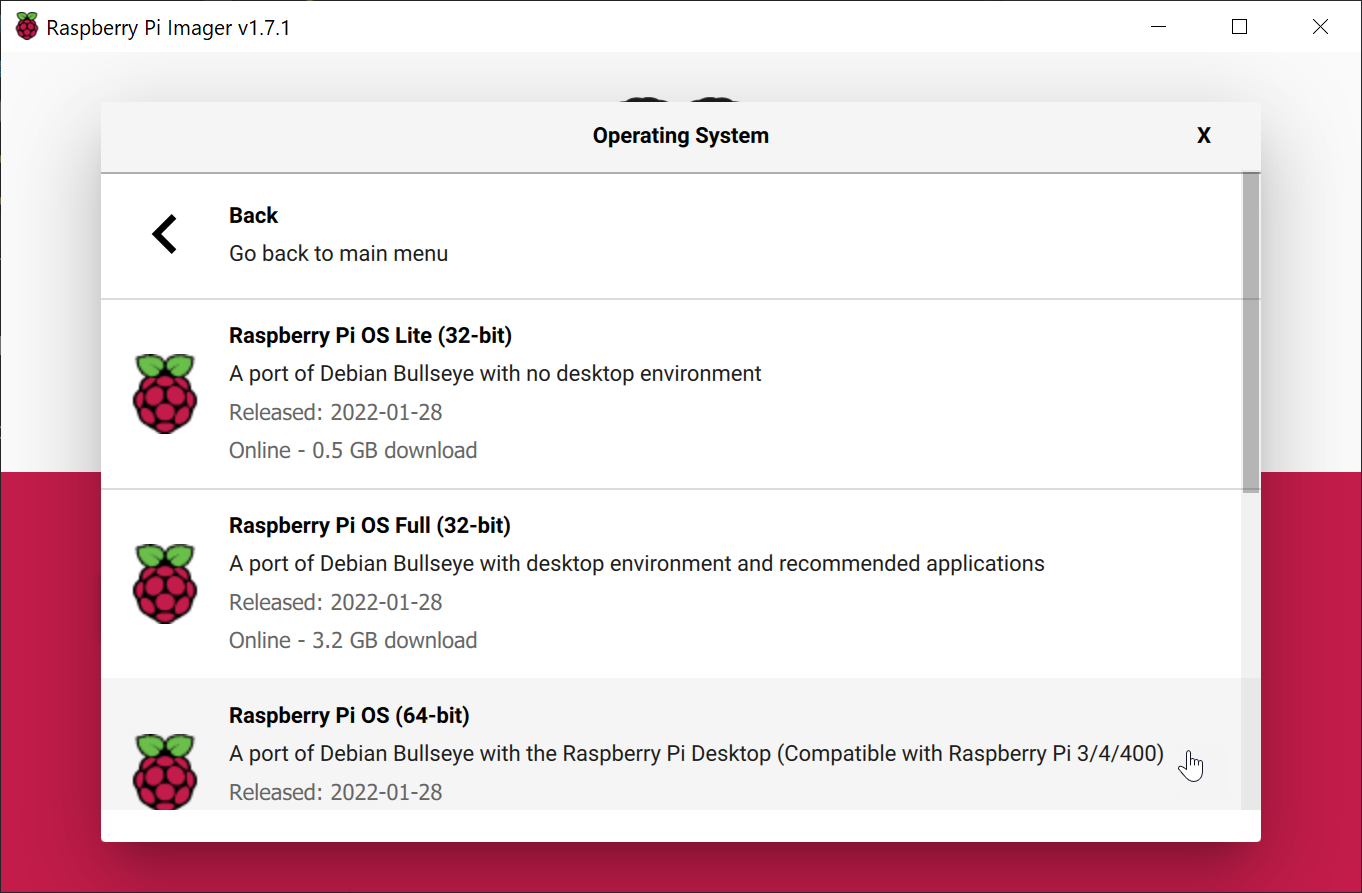
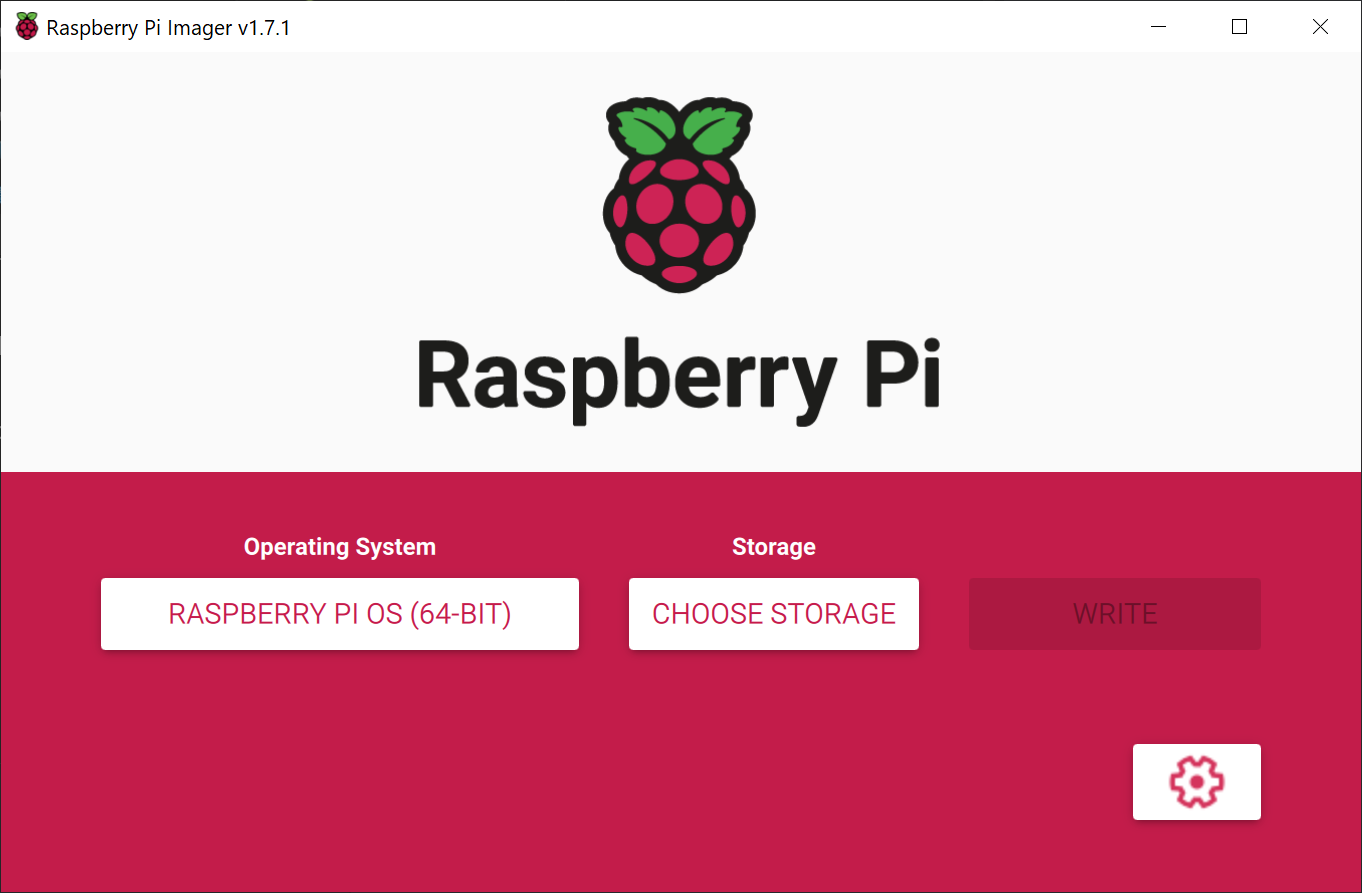
- When opening the program, you are greeted with 2 buttons. CHOOSE OS and CHOOSE USB. For now, we are going to select the 64-bit operating system. Click CHOOSE OS followed by Raspberry PI OS (other) and then Raspberry PI OS (64-bit)
| CHOOSE OS | Raspberry PI OS (other) | Raspberry PI OS (64-bit) |
|---|---|---|
|
|
|
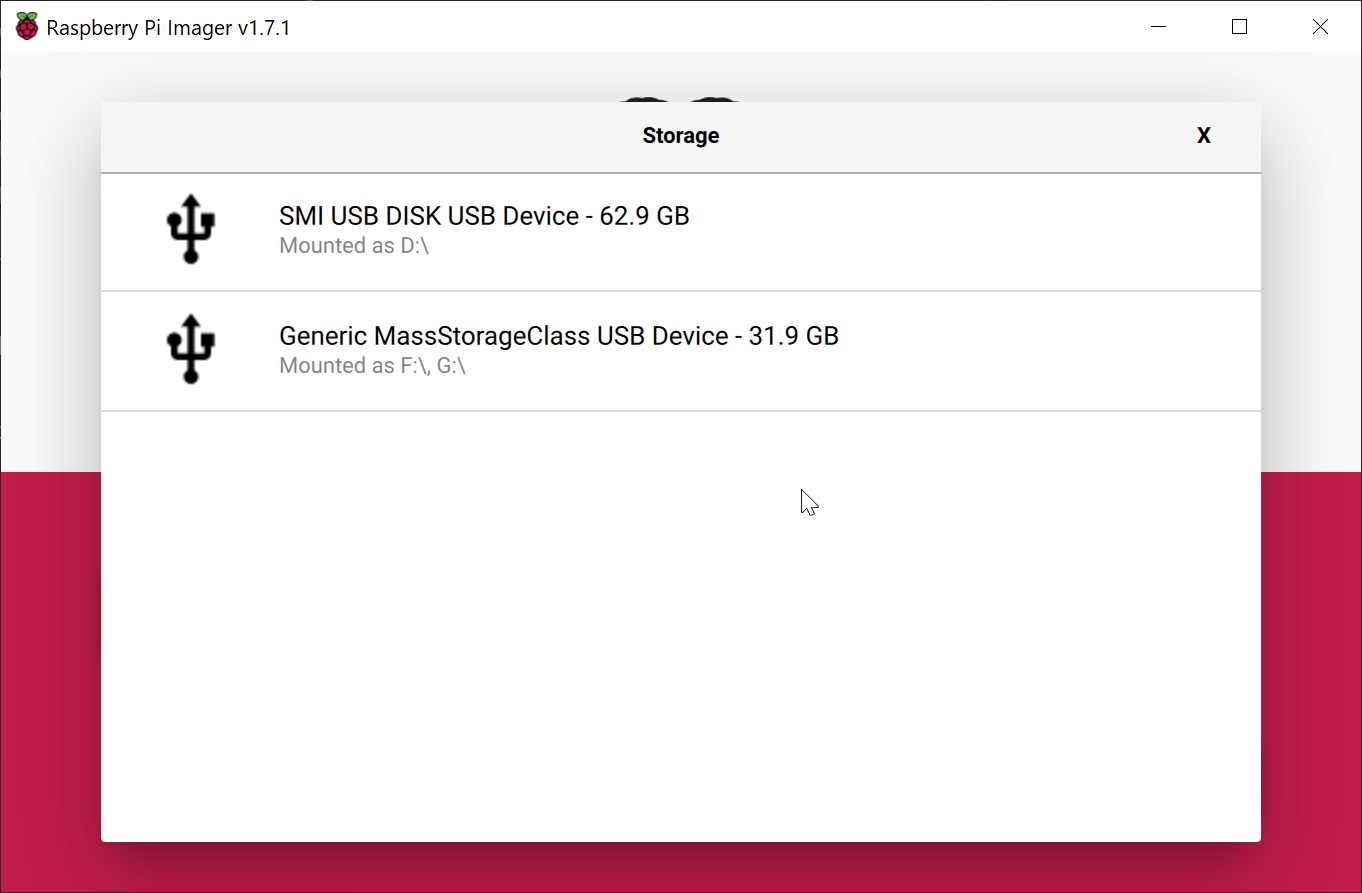
- Now click CHOOSE STORAGE followed by the media you want to install to.
| CHOOSE STORAGE | Media |
|---|---|
|
|

- Disable overscan. (To avoid black boarders when connected to a display.)
- Set hostname. (Used to set the name of the device.)
- Enable SSH. (This makes it possible to use a terminal emulator to connect to the Raspberry PI.)
- Set username and password. (Create a user to be used to login on the Raspberry PI.)
- Configure wifi. (Setup the wifi connection like you normally would. If you are already connected to a wlan it will populate the fields with your password automatically.)
- Set locale settings. (Here you chose what time zone you are in and the layout of your keyboard.)
- Finally Persistent settings. You can choose to play a sound or eject the setup is complete. There is also a Enable telemetry box. If this is enabled, Raspberry (the company) gets some information about what operating system gets used and probably some other information.
-
When you are happy with the settings, click SAVE followed by WRITE. You will get a warning saying that everything on the media will be erased, click YES to continue.
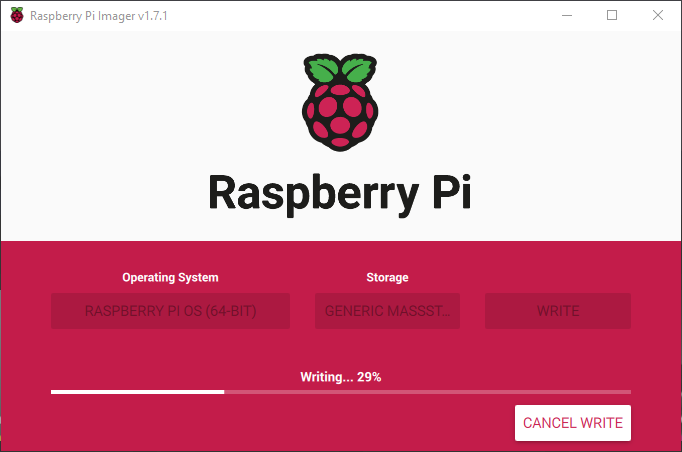
-
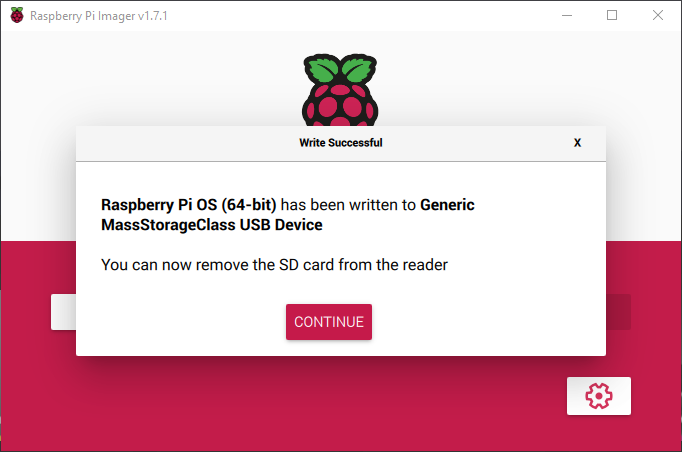
When done, you will get a message saying write successful. You might get some messages from windows about formatting disk, Click cancel on that. just take the SD card and put it into your Raspberry PI and boot it up to start the fun!
Rufus
This program has become less useful since Microsoft made its own program but it is not out yet. It is still the best tool to use if you wish to create bootable USB's for windows server og older versions of windows 10. (The later versions of Windows have some blockages that can be practical to go around)
An error I have encountered using this program is that if the user is not an administrator on the pc but have to use a temporary password. The installation will seem to complete but not work.
Link to download page: https://rufus.ie/en/
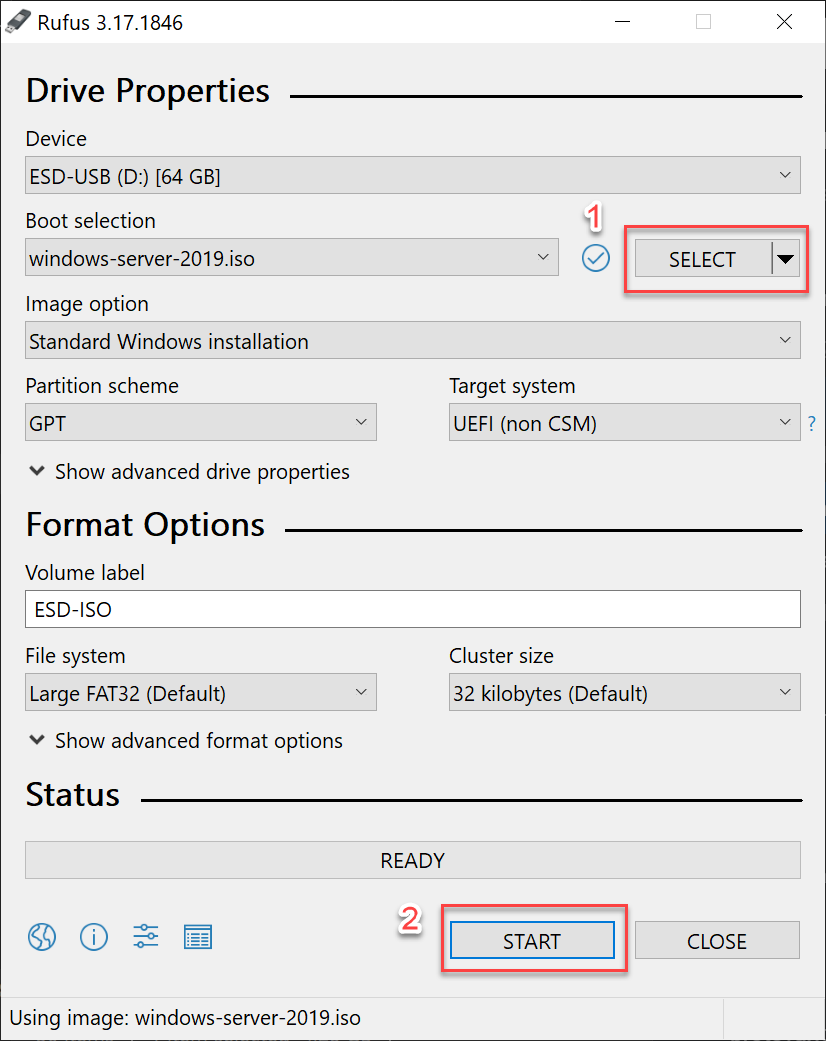
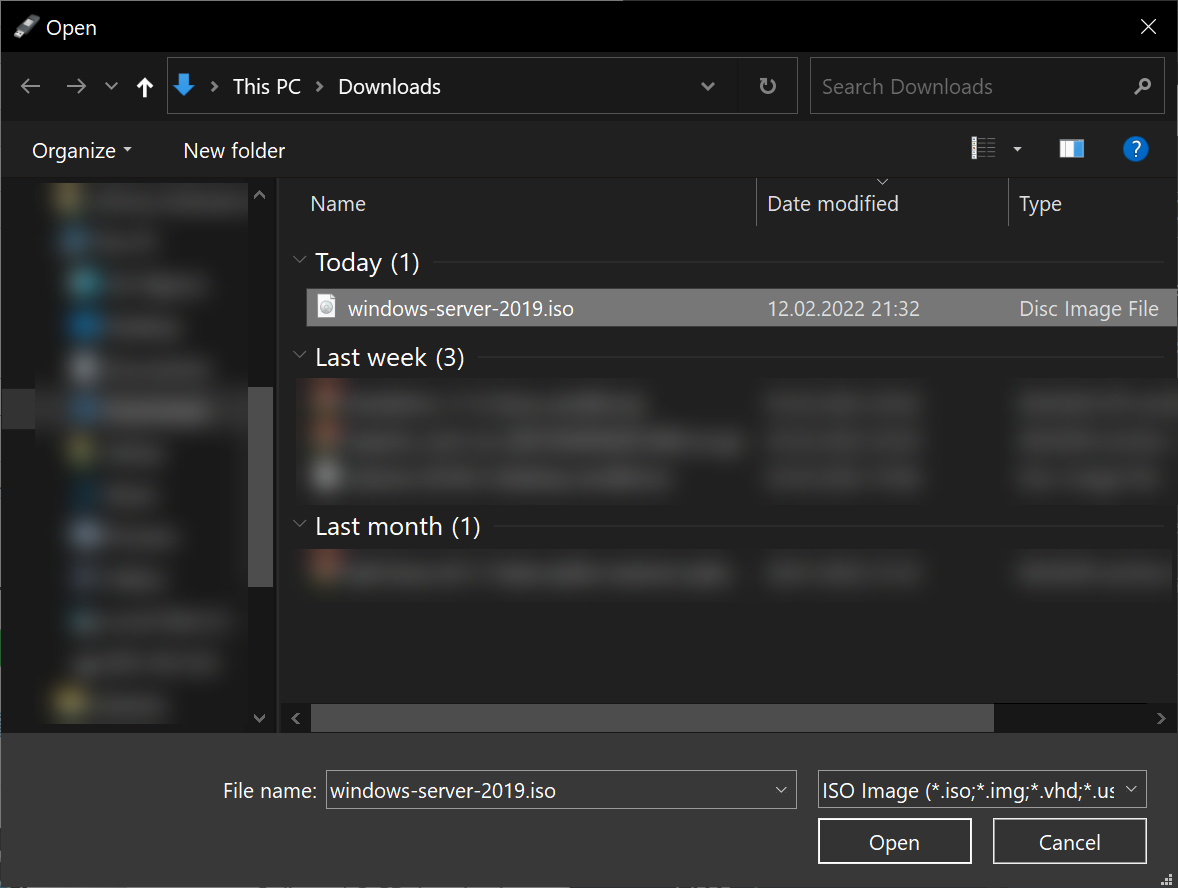
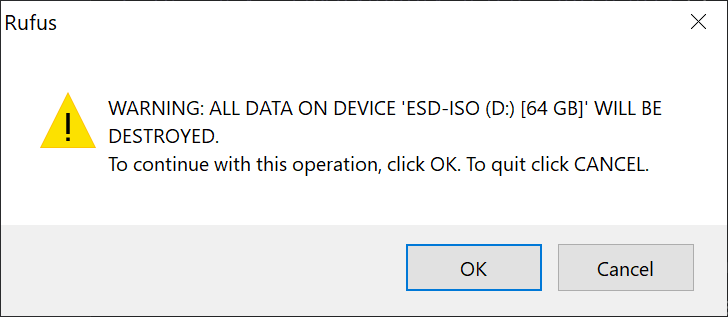
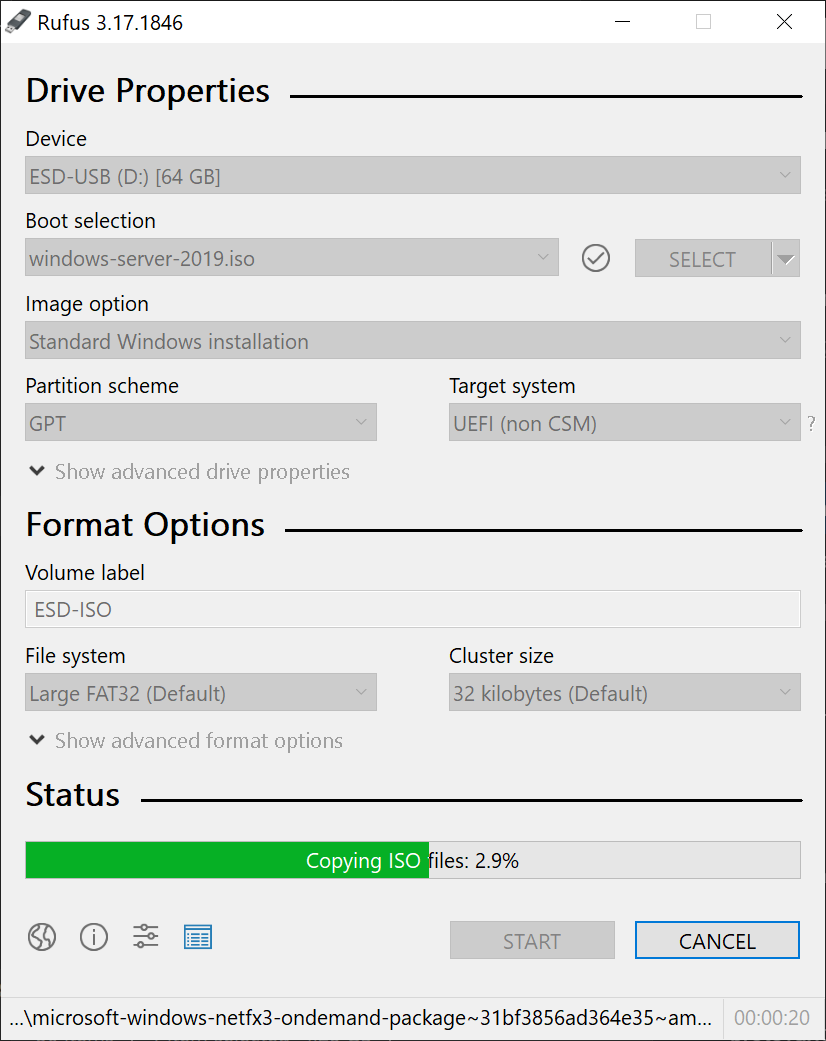
To use this, click select (1) This will give you a pop-up to select a file. After finding your ISO just click start. (2) This will give you a pop-up warning about erasing everything on the device. click OK and wait for it to finish. When done, click close and extract the USB.
| Rufus | Pop-up 1 | Pop-up 2 | Wait |
|---|---|---|---|
|
|
|
|
Windows media creation tool
Microsoft have made it's own tool that downloads a newer version Windows 10 or in the future Windows 11. You can choose to create a bootable USB, make an ISO file og upgrade the pc it is downloaded on.
Link to download page: https://www.microsoft.com/en-us/software-download/windows10
- Applicable notices and license terms. These needs to be accepted to proceed.
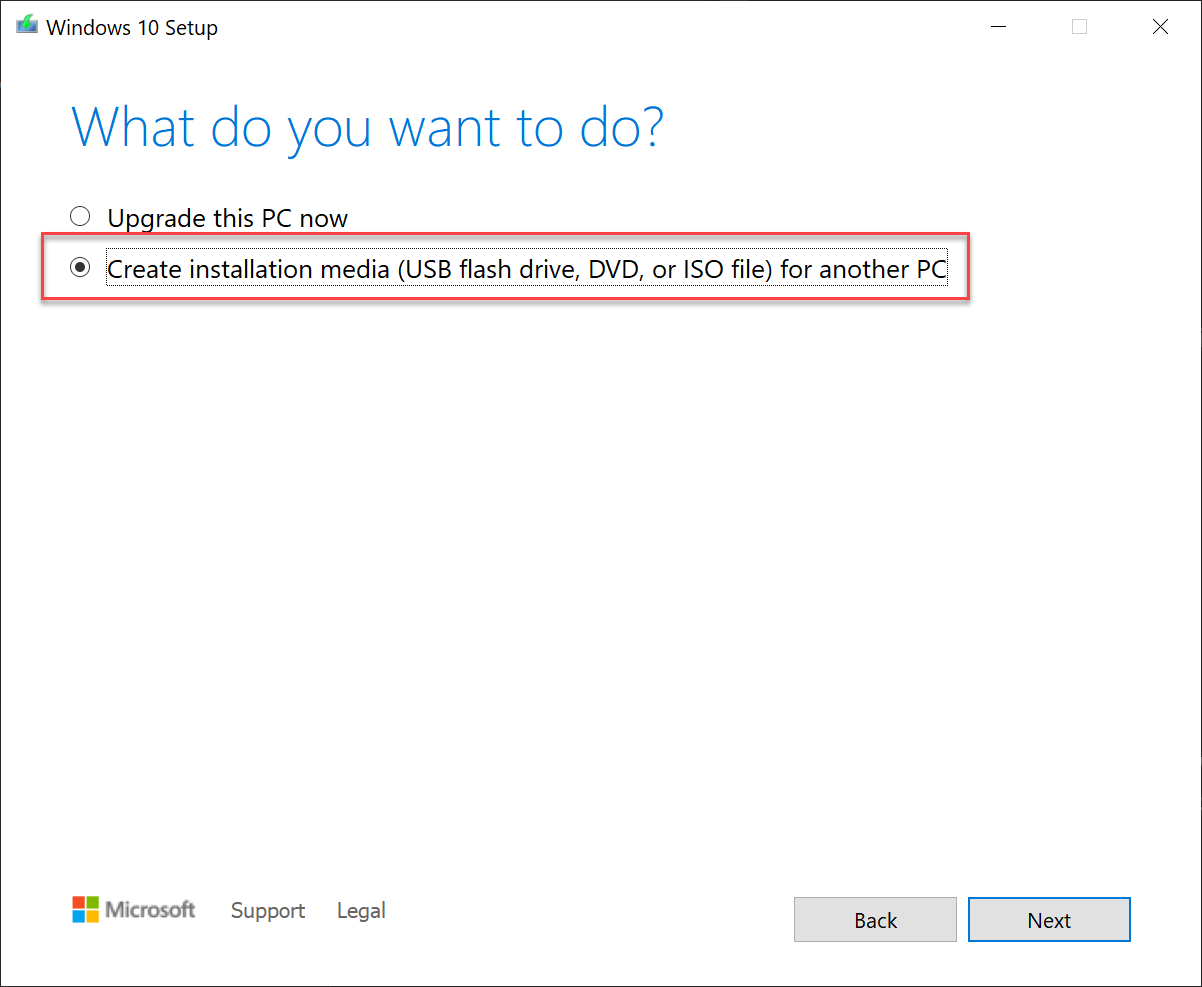
- Pick option 2 to create installation media
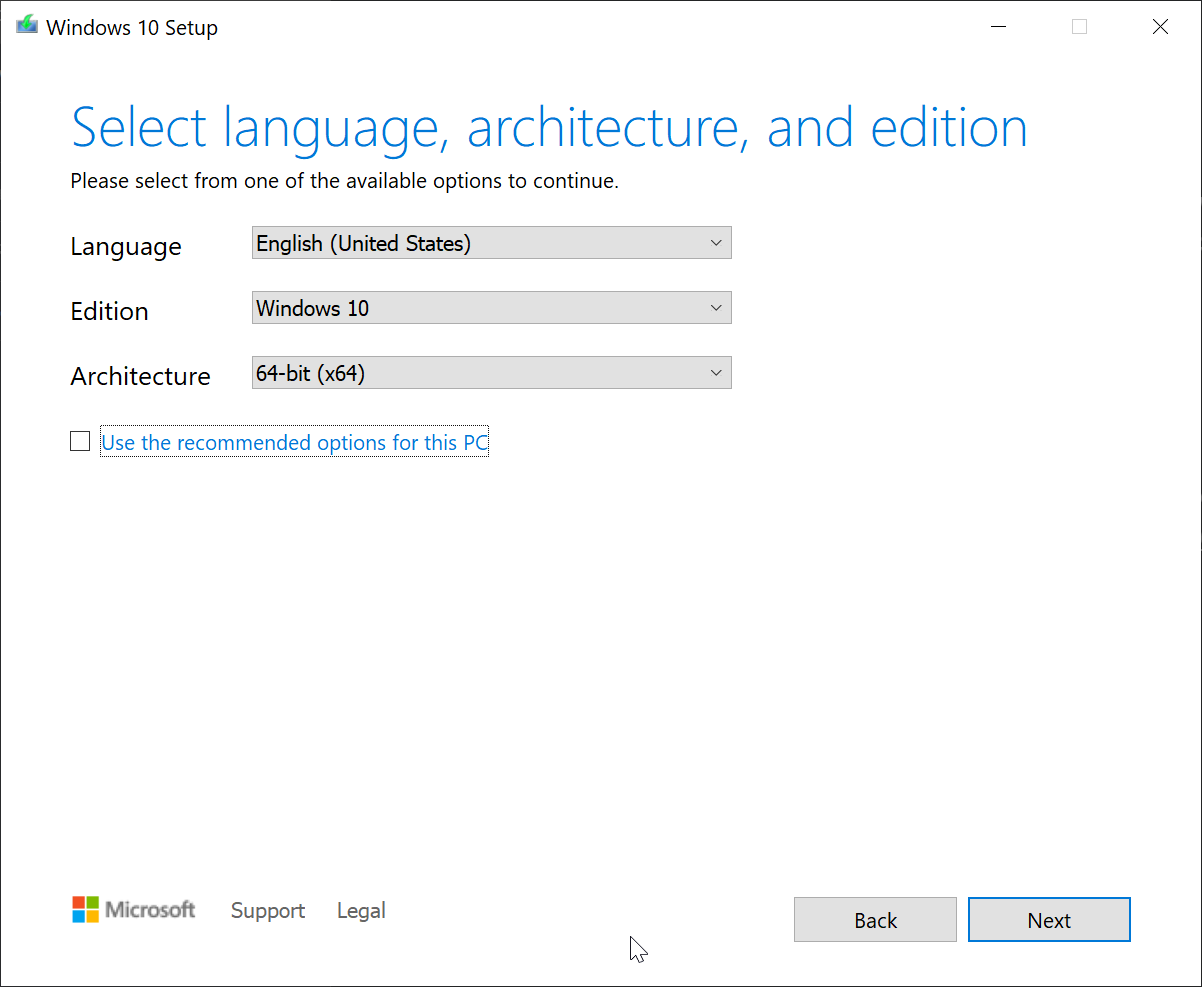
- Choose language, Edition and Architecture before going on.
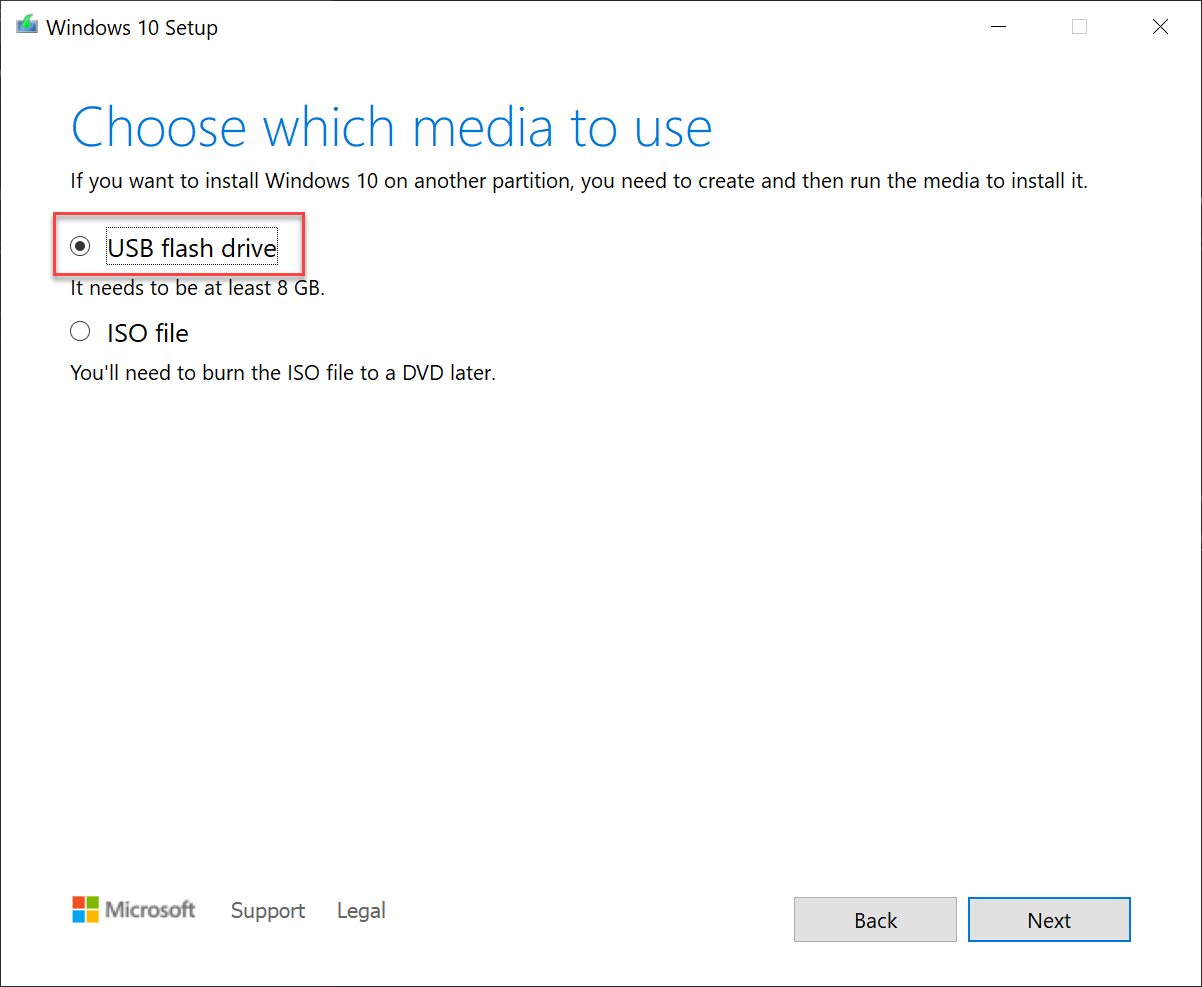
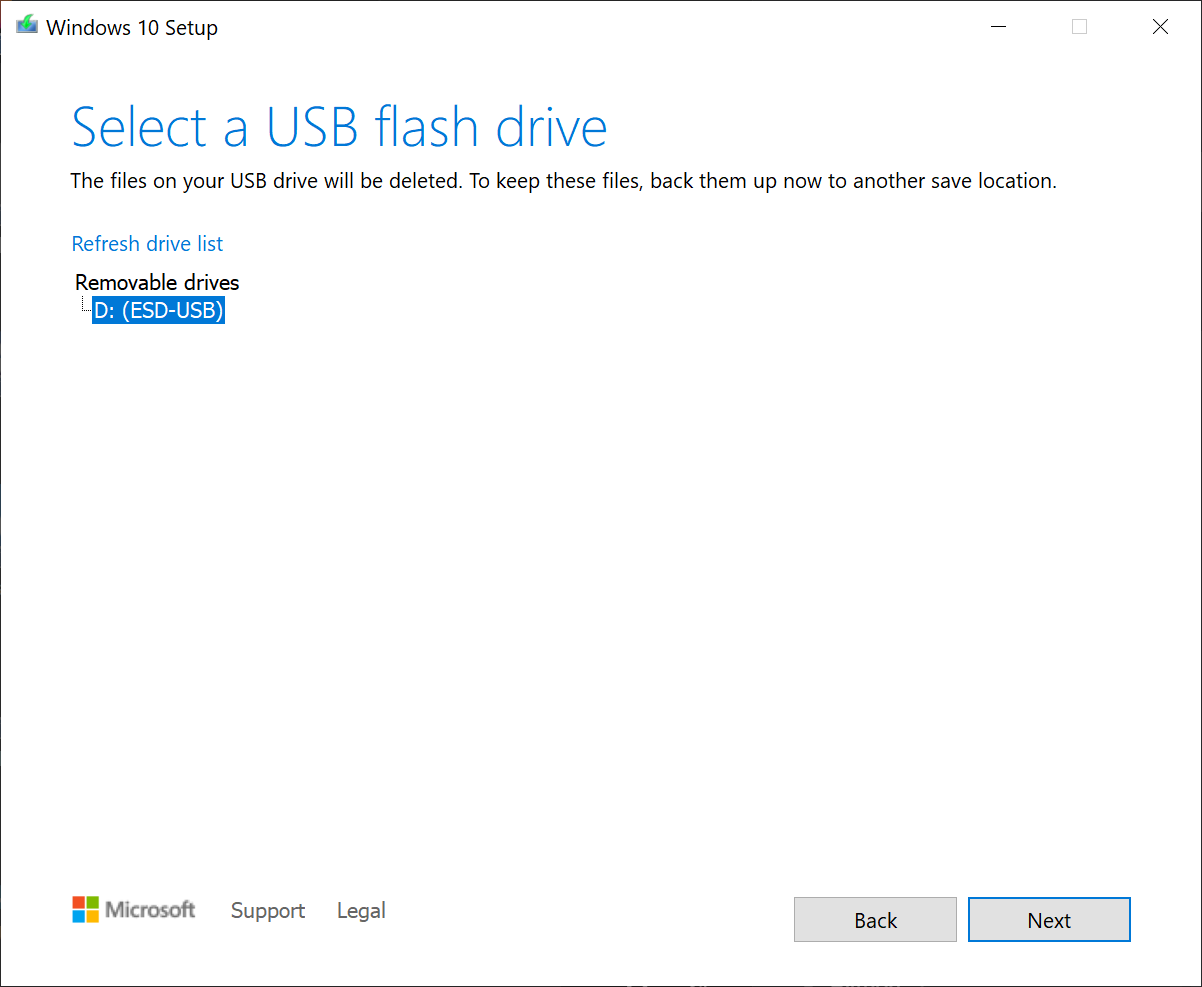
- Select option 1 "USB flash drive" to create a usb installation media followed by selecting the desired USB
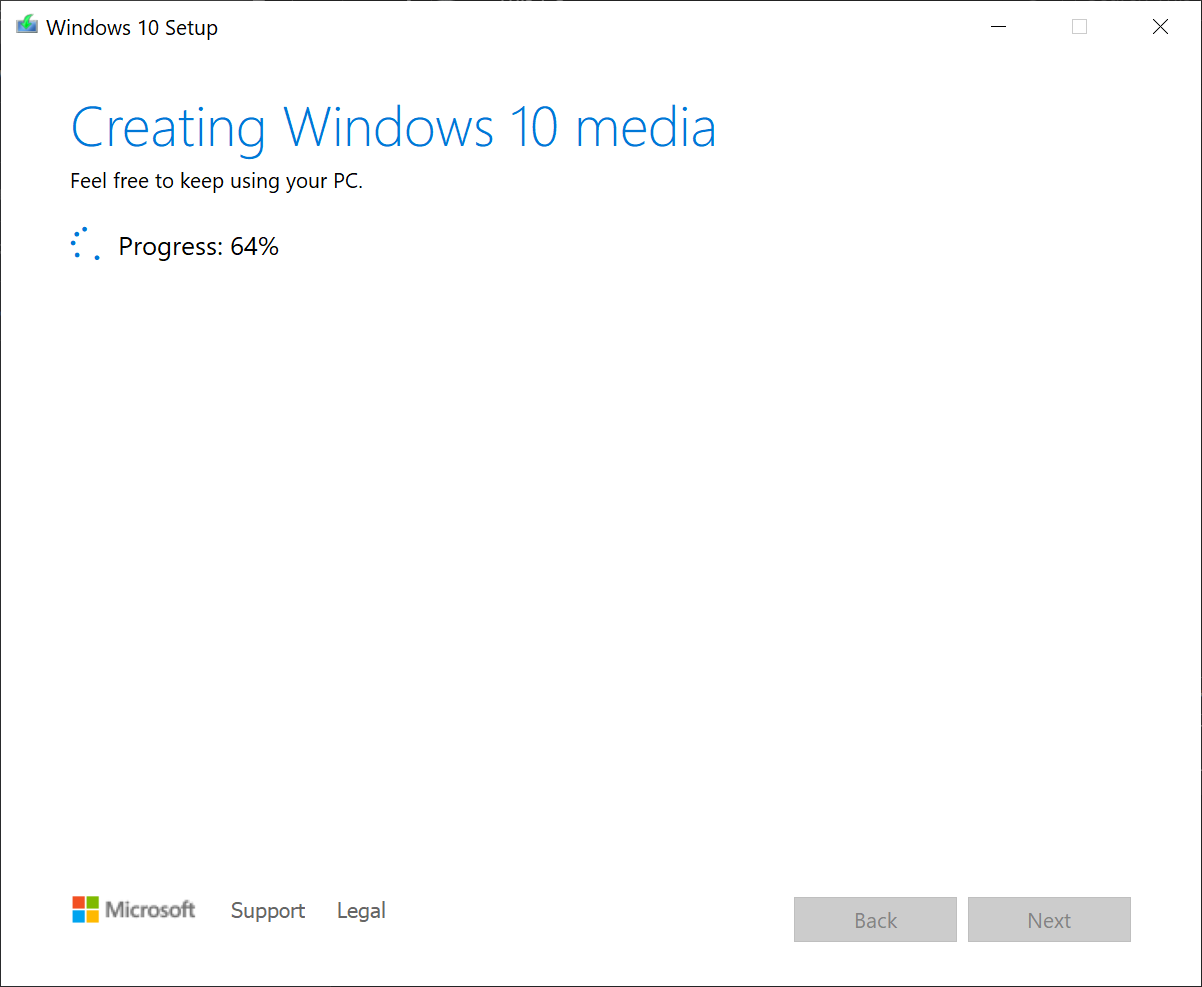
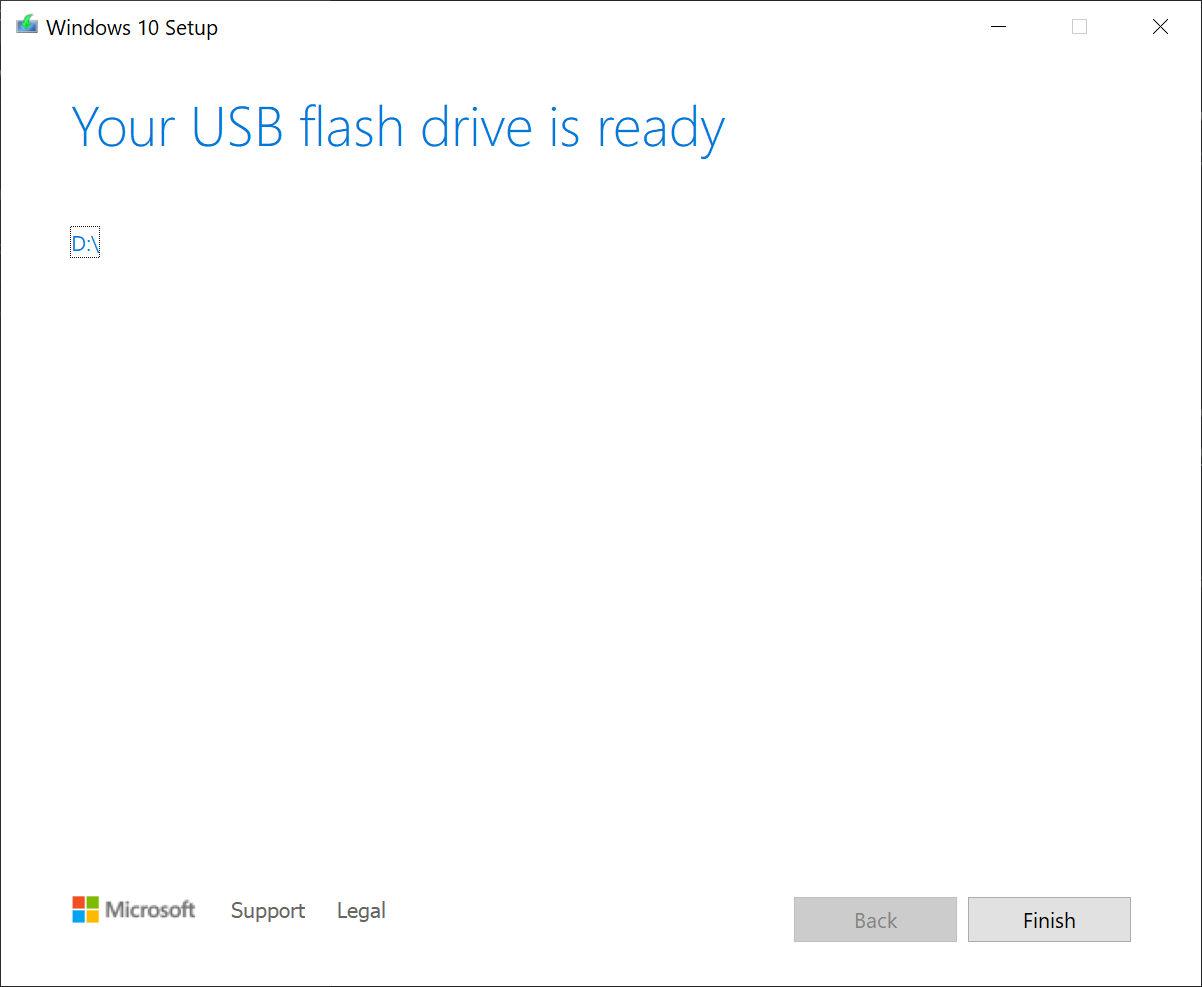
| USB | USB drive | Wait | Done |
|---|---|---|---|
|
|
|
|
- Done! Go forth and install!
Finally
You should now be ready to start installing operating systems left and right! Much can be learned if you go outside your comfort zone when it comes to operating systems. The possibility to install Linux alongside Windows also exist!